Competence Center Infrastructure
For the laboratory study of fluid mechanics processes, it is necessary to measure parameters characterizing the flow, such as velocity, pressure, temperature (on solid surfaces, in liquids and gases), and humidity. Instruments and sensors are required to perform these measurements in both stationary and flowing media, especially during wind tunnel experiments. The collected data can be transmitted to a computer. These tools are essential for research and teaching various subjects (Fluid Mechanics, Thermodynamics, Caloric Machines).
Laboratory equipment includes:
- Wind tunnel (coolable, with water injection) – approx. 140 million HUF
- Multifunctional fluid mechanics measuring instrument with sensors – approx. 10 million HUF
- Laser measuring device for particle velocity and size (in procurement) – approx. 70-75 million HUF
Wind Tunnel
The wind tunnel at the Savaria Technical Institute is a closed-circuit, horizontal wind tunnel with water injection and cooling. It can model both internal flows within a closed space and external flows around objects. Thanks to its water injection and cooling capabilities, it is unique in Hungary, being the only wind tunnel at the time of its commissioning that can study icing processes in addition to usual flow phenomena. The wind tunnel has numerous applications, including pipeline transport; automotive industry (flows around road, water, and air vehicles); flows around buildings and equipment; and flow machinery (pumps, fans, turbines). Using sensors and additional measuring devices placed in the wind tunnel, flow parameters such as pressure, velocity, temperature, and humidity can be measured. This allows for the study of their effects on the flow and on the device or equipment being tested.
A unique feature of the wind tunnel is its ability to cool and inject water, thanks to nozzles located before the contraction section. By injecting water droplets into the airflow, two-phase flows can be modeled. Cooling the airflow below freezing creates aerosols similar to atmospheric icing clouds. Its properties can be adjusted and changed as needed in the wind tunnel. This allows for the simulation of icing processes, aiding in the study of ice formation and its effects on aircraft wings, wind turbine blades, power lines, electric locomotive pantographs, vehicles, and even trees. Large amounts of ice can cause damage, operational problems, and, in extreme cases, disasters.
Studies conducted in the wind tunnel help understand the processes causing such problems and develop solutions to counteract them.
Main characteristics of the wind tunnel:
- Total length of the closed circuit: 24 m
- Measurement chamber cross-section: 0.5 m x 0.5 m, length: 1 m
- Contraction ratio: 1:5
- Maximum speed in the measurement chamber: 35 m/s
- Lowest temperature in the measurement chamber: -20°C
- Water injection through 3 nozzles, each with an adjustable flow rate of 10-100 cm³/min
- Heat-insulated cabin around the measurement chamber with a floor area of 5 m² and a ceiling height of 2.1 m
Measurement Technology Laboratory
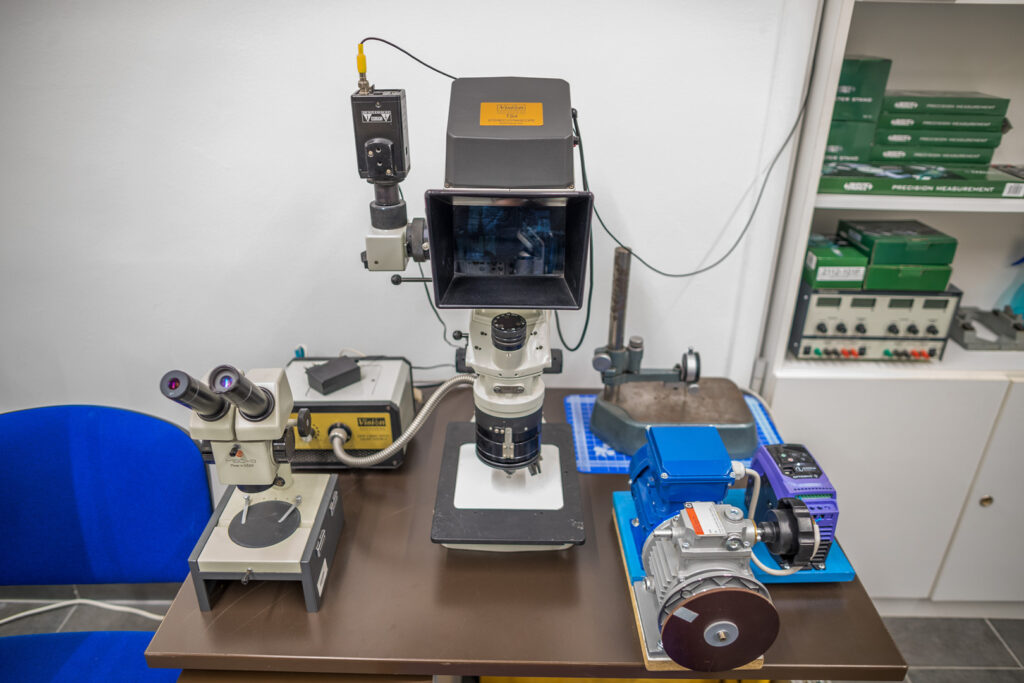
The Measurement Technology Laboratory provides the conditions necessary for the practical application of measurement theory in a 44 m², air-conditioned room with 12 workstations.
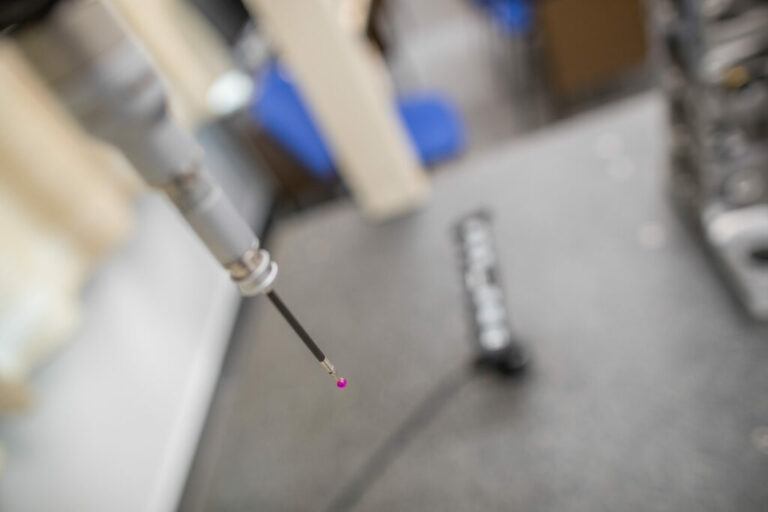
To achieve practical, hands-on training, the sessions allow for the application of statistical basics related to measurement theory in processing measurement data with software support. Most measuring instruments have digital displays and can connect to computers (calipers, dial gauges, digital multimeters).
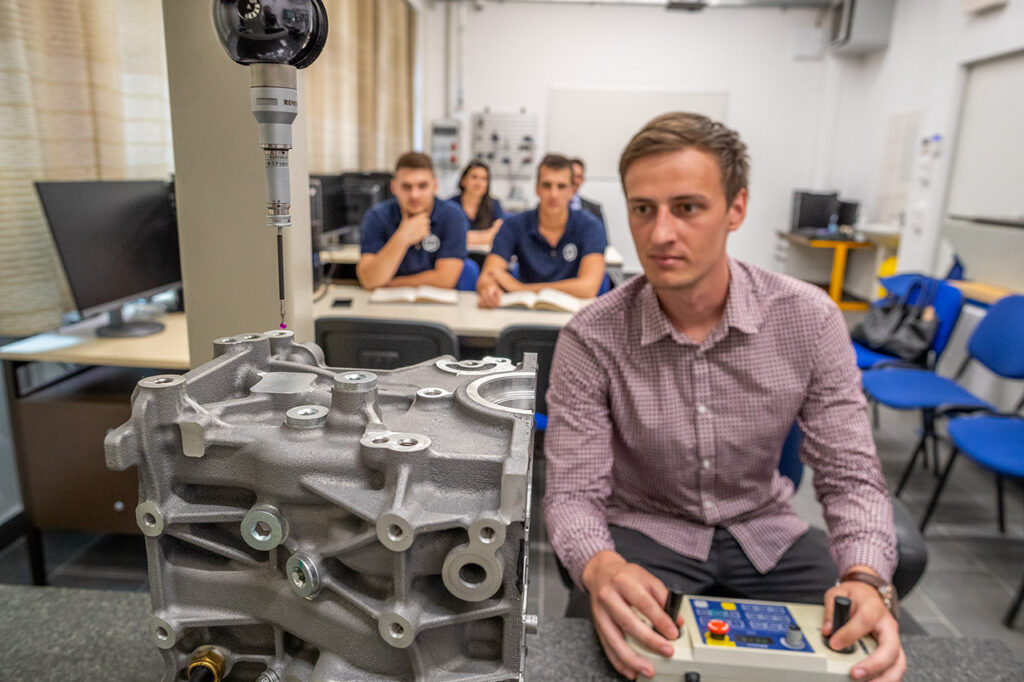
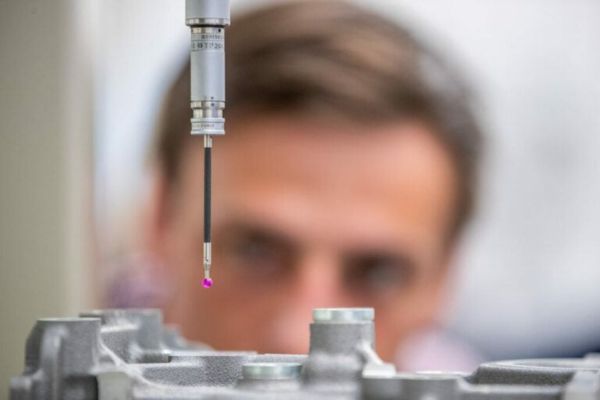
During practicals, the fundamental principles of measuring physical parameters related to basic units are applied both directly and indirectly, using non-contact and tactile measurement methods. Shape and positional tolerances can also be determined using a tactile coordinate measuring machine.
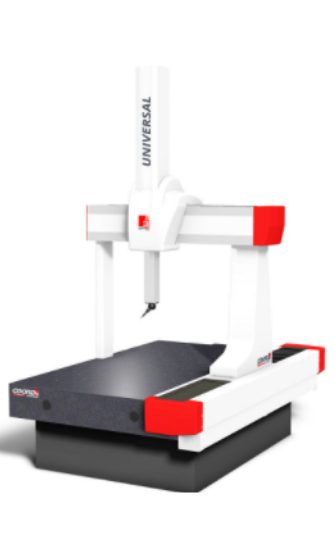
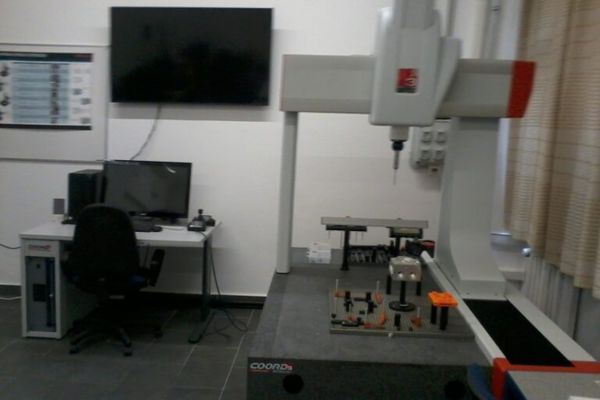
COORD 3 UNIVERSAL Bridge-Type Coordinate Measuring Machine
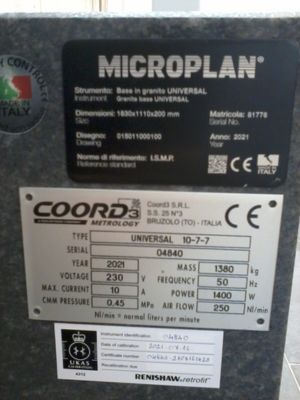
The grant from project number 2019-1.3.1.-K.K-201900011 enabled the Savaria Institute of Technology to acquire and install a COORD 3 UNIVERSAL bridge-type coordinate measuring machine. This measurement system represents the latest generation in coordinate measurement technology. It can be used for both traditional tactile measurements and the most advanced scanning cycles using contact and laser technologies.
The Coord3 UNIVERSAL measuring machine is equipped with a Renishaw UCC controller and a temperature compensation system. This system automatically adjusts for potential measurement errors due to environmental temperature changes within the range of 16-26°C. High-resolution optical displacement sensors (0.1 μm) eliminate distortions that could arise from possible deformations of the main structure.
The Coord3 UNIVERSAL measuring machine features a Renishaw UCC controller and a temperature compensation system that automatically adjusts for potential measurement errors due to environmental temperature changes within the range of 16-26°C. High-resolution optical displacement sensors (0.1 μm) eliminate distortions caused by possible deformations of the main structure. The structural rigidity of the UNIVERSAL series measuring machine makes it particularly suitable for the use of scanning systems. The measuring system is characterized by reducing the number of components, simplifying the structure, minimizing maintenance costs and times, and interactive 3D programming. The acquired coordinate measuring machine is suitable for high-level execution of industrial partners’ and ELTE’s educational and research tasks. At the Savaria Technical Institute, the coordinate measuring machine supports Industry 4.0 research by continuously collecting and processing measurement data, with scientific publications based on the data currently in preparation.
The installed coordinate measuring machine has the following metrological properties:
Measurement range:
X-axis: 1000 mm
Y and Z axes: 700 mm
Measurement accuracy within the specified range:
MPEE = 1.5 + L/333 μm (with an average of 4.5 μm)
A Coord3 UNIVERSAL type measuring machine is equipped with a Renishaw UCC type controller and a temperature compensation system. The system automatically compensates for any measurement errors due to changes in environmental temperature within the range of 16-26°C. High-resolution optical displacement sensors (0.1 μm) eliminate distortions arising from possible deformations of the main structure.
The structural rigidity of the UNIVERSAL series measuring machine makes it particularly suitable for the use of scanner systems. The functions of the measuring system are specifically characterized by reducing the number of components, simplicity of design, minimizing maintenance costs and schedules, and interactive 3D programming.
The acquired coordinate measuring machine is suitable for high-quality performance of educational and research tasks.
Welding laboratory
The aim of our laboratory
The aim of our laboratory is to showcase various manufacturing technologies to our students. In addition to traditional machining processes such as turning and milling, we introduce modern CNC machining, which includes in-machine workpiece and tool measurement.
In addition to machining, we can also demonstrate waterjet cutting technology, which can cut various materials without thermal shock. For plastic processing, we have equipment for both pressure and vacuum forming.
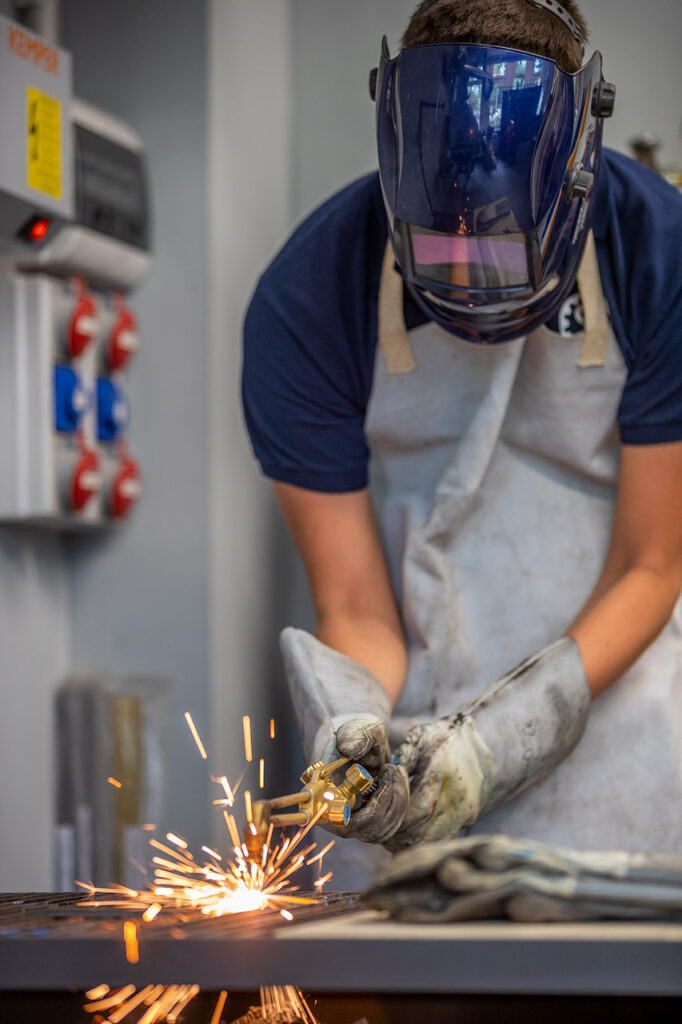
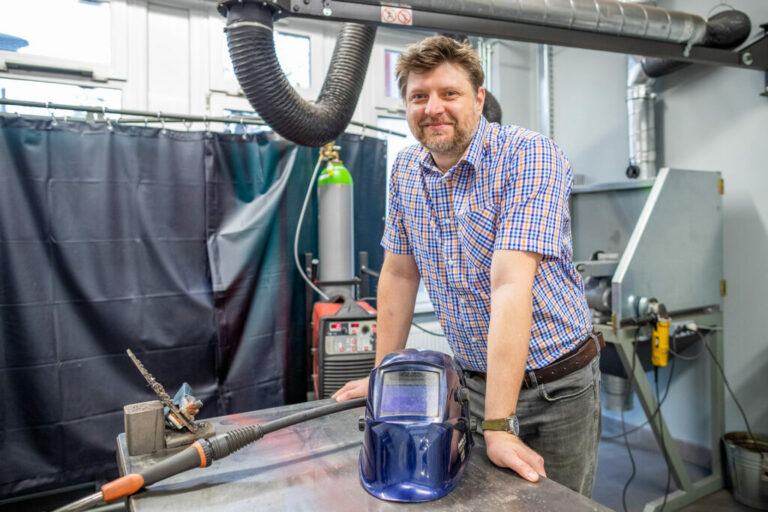
In a separate room, we have a welding laboratory where we can demonstrate flame, TIG, MIG welding, as well as spot welding and brazing.
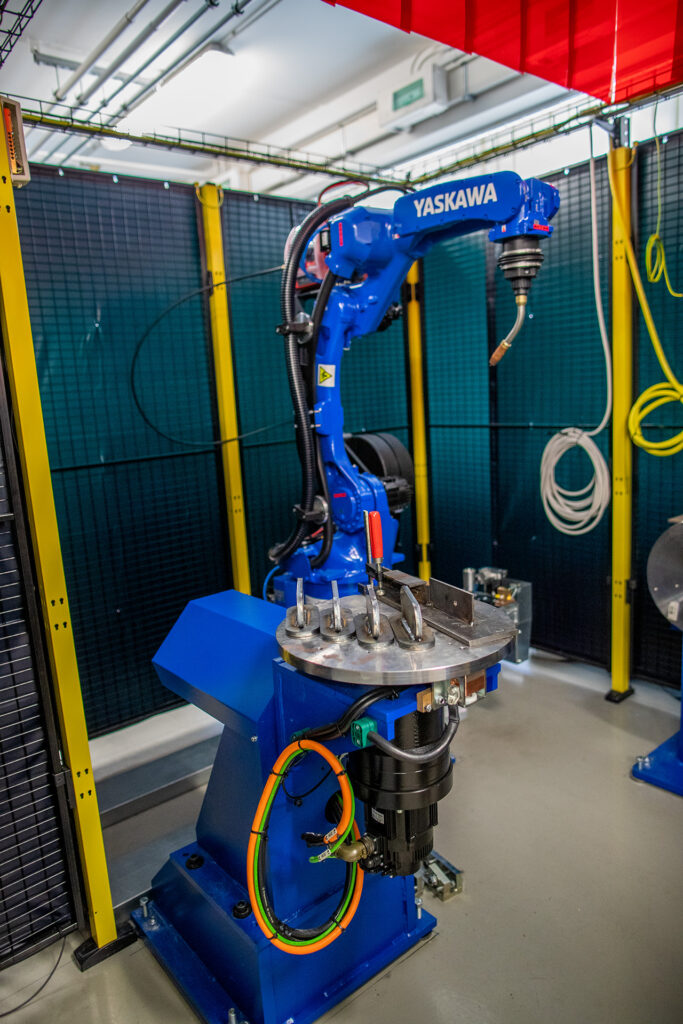
Yaskawa industrial welding robot
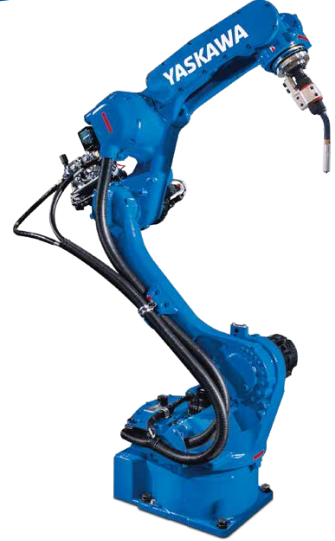
In the third quarter of 2021, a six-axis Yaskawa industrial welding robot cell was installed in our institute. The equipment group was established as a result of an investment of approximately 50 million HUF within the framework of the public procurement tender titled “Software- and Data-Intensive Services”. The components of the manufacturing cell include the robot arm with welding power source, a two-axis positioner, industrial exhaust equipment, and various modern material testing tools for inspecting the manufactured parts.
The goal of acquiring the robot cell in our institute was to provide students with the opportunity to study not only robot arm trajectory programming but also the fundamentals of welding technology. With this equipment, both undergraduate and graduate students can participate in modern Industry 4.0 research, as well as colleagues pursuing doctoral studies related to cyber-physical systems. Additionally, it offers the possibility to conduct basic research in material science, technology, and computer science.
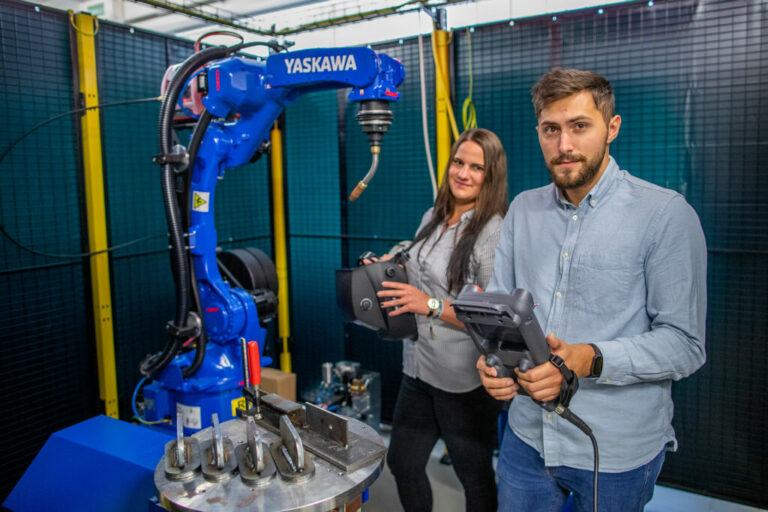
In addition to trajectory programming, students can learn the basics of welding technology on the robot. With this equipment, both undergraduate and graduate students can participate in modern Industry 4.0 research, as well as colleagues pursuing doctoral studies related to cyber-physical systems.
The taught welding processes include:
Solid wire electrode gas shielded arc welding – MIG (135)
Tungsten electrode gas shielded arc welding (142)
Manual arc welding (111)
Oxy-acetylene flame welding (311)
Resistance spot welding (21)
Arc stud welding (78)
The taught thermal cutting processes include:
Flame cutting (81)
Plasma cutting (83)
Within a week of commissioning, production of test pieces for five theses and two doctoral dissertations began on the robot cell, and research advocated by the Data Science Applications Research Group also commenced. This demonstrates the widespread interest in this unique, complex technology, which allows for the examination of the microstructure development of materials involved in welded joints from a materials technology perspective within engineering systems. At the same time, in terms of modern manufacturing technology, artificial intelligence applications developed through data-based machine learning can be created to achieve autonomous welding technology.
In our laboratory, we have the following equipment: Telwin Interpulse 32 power source for MIG welding, Telwin 400 spot welder, Stalwerk WIG-200 PS manual arc/TIG welder, ALUSpotter 6100 stud welder, and oxy-acetylene torch.
The lineup will soon be complemented by the arrival of the Yaskawa AR1730 welding robot, Yaskawa MT1-250 S2D two-axis positioning device, and a Fronius TPS400i power source. With the use of this equipment, the knowledge base of modern robotic manufacturing and Industry 4.0 production fundamentals will be available within the framework of the Manufacturing Technology 4. course.
To demonstrate additive manufacturing technology, we have a rapid prototyping machine that solidifies layers using the polyjet process (with UV light assistance).
